Showing posts with label Big Shot. Show all posts

Monday, September 23, 2013

Stamp Club DBS: August 2013

The August hostess for the Dead Birds Society chose to replicate a package wrap from page 15 of the current Idea Book & Catalog. What a smorgasbord of products to play with! We began by popping up one of SU's little kraft gift boxes, then placing a bellyband of DSP around it (this makes the whole decorative unit slide off - and back on again for repeated uses!).


We adhered some lace tape to the sides so it would just peep out from under the ribbon, then tied on seam binding tape. Next, we folded and cut some pieces of creped filter paper for a ruffle, topped by a doily. Holes punched through each of these enabled us to thread them onto the seam binding ribbon.


More DSP was cut and scored with the Designer Rosette Bigz XL Die to make - you'll never guess - a rosette. We scrunched and peeled some punched scallop circles, and finally tied on more seam binding tape atop the whole thing. Whew! Lots of steps, but each could be used alone or in combination with just a couple of others, so we learned a great deal.


Finally, to construct the tag, we heat embossed the "Happy Birthday" from You're Amazing twice and popped up the "Birthday" line as a banner on dimensionals, accented with Pumpkin Pie die cut strips. A couple of Pumpkin Pie candy dots and then it was ready to tie on with linen thread.

The recipient of this package will know themselves to be very, very special indeed.  -Kathy

Monday, September 9, 2013

Little & Cute


I decided to make a little something for my stamp club ladies to show them how much I appreciate them. I was cleaning and sorting here and there, and came across this faux alligator paper (originally used to cover photo albums) that I bought at the Hallmark outlet store in Indian Springs shopping center (Kansas City). Of course that was a sign that I had to make purses on the Big Shot!

I decided to play with the new air dry clay. As you can see, I tinted some pink, some blue, and some green. I learned that Dazzling Diamonds glitter is a fabulous "mold release" plus it adds just a little sparkly bling to the flowers. It's nice that the silicone molds have three size options so you can scale your flowers to your project!

I just couldn't resist showing you...they look so business-like all lined up there on the table.

Kathy

Friday, September 6, 2013

Stamp Club Lawrence: August 2013


There are these so-cute muslin bags in the SU! Holiday Mini catalog this year (and incidentally, they're very well made). I was delighted when my August stamp club hostess asked to do a project that entailed stamping on fabric! Since SU! no longer stocks craft ink, I needed to re-visit this technique. I made sure there were no wrinkles in the bag, then cut a piece of chipboard to slide inside in order to make sure no ink or paint transferred through to the back side. 

As you can see, the Summer Starfruit (one of the new "firm foam pads" introduced last year) worked very well. Those pads hold a LOT of ink!


I liked the way that the Gumball Green enabled me to do an overlapping effect. One of the things I love best about summer is gazing up through the canopy of green leaves and marveling at the subtle differences where they overlap, or dance gently in the breeze, or sparkle in the sunlight. But I wanted the Cherry Cobbler to "pop"! It worked fine on the small florets, but on the larger flowers it was too transparent to have the effect I was looking for, so I decided to try a recipe I had seen for acrylic paint and fabric medium. I messed with the color until I had a pretty good match, then added 1/3 fabric medium to 2/3 paint. It's quick and easy to put a thin coat of the paint onto your stamp with a sponge dauber. Just be sure to wash it off promptly before it dries in the little crevices! You can see the difference on the two larger flowers to the right of the design.


For the tag, I used the Chalk Talk set with coordinating framelit. I wanted to make the tag a bit more substantial and incorporate a natural element, so I used the cork band from a disposable hot cup that someone had conveniently left behind to make a backing. Did you know that you can cut more than 50 materials with your Big Shot?! The amazing Tombo Multi-Purpose glue worked just great to adhere these together.


Finally, I discovered that if I tied the bow right onto the cord of the bag, I could slide it up and down as I cinched the bag closed. How about that?! The tag comes with a nifty little c-shaped opening that's perfect for hanging behind a bow.

What would YOU put in this little bag if you were gifting someone with it?

Kathy

Wednesday, August 28, 2013

Commission: Gender Reveal Banner


A client contacted me recently to see if I could turn around some decorations for a "Gender Reveal" party she was holding for her daughter. After I asked a few questions (this is a new concept for me, so I had a learning curve to scale!), I said I'd take it on, and this is what we came up with:


I created decorated clothespins to which I attached a large bow tied with gardeners' twine ($1/spool from the Target dollar bin). I tied the two ends of the banner twine into a slip knot which I sipped around one side of the clothespin; it also held the punched streamer in case they decided to use all the elements as a single unit, although constructing it this way enabled them to use the streamers in other ways, such as on the refreshment table or across a couple of windows. In addition, for demonstration, I used push pins stuck into the top edge of my light soffits (so the holes don't show later), and the clothespins grabbed right onto those while still holding the banners and the streamers.


Here's the left side. See how the twine has a nice, soft spiral to it? That was just from being wound into the ball. I got lucky! The pink ribbon was a recycle from a gift I had received some time in the past... I taped a length of blue ribbon onto the back of the hearts to repeat that color in the "end effects". 


Here is a close-up of the individual letter cards, which measure 4x4.5" and were a perfect proportion for the Seriff Essentials I had in the studio to use with my Big Shot. I was really pleased at how quickly I was able to cut both letters and shadows.


You'll note that another way I streamlined the process was to treat all the blue cards in the same way, and all the pink ones the same. I punched small shapes to reinforce the holes for the twine, using DSP so that the double layer wouldn't be so difficult to punch through (and it didn't hurt that they added a little pattern and accent!). All the blue letter cards were stamped with "Off the Grid", while I used "Creative Elements" on the pink ones. I came back and added a few embellishments to the letters to pop them into the 3rd dimension and repeat shapes, colors and themes throughout the entire project.


I had seen several people use punched shapes to make garland, and had been wanting to try it, so I gathered up all my scraps from cutting letters and shapes and punched a variety of sizes and shapes of both DSP and card stock. I laid them out on the table to get a rough idea of color and shape repetition, then stacked them up and took them to my sewing machine. I was absolutely thrilled at how quickly I was able to run up 7' lengths that twist and turn gently in the air currents! My client was surprised and delighted at this little "extra" that I tucked in - and the only additional material it required was the thread.


Here's the full deal, floor to ceiling. I was able to complete it in an afternoon and I was astounded at how few sheets of paper it required.

Hope this sparks an idea or two for you as the holidays approach or you have other events in your life that deserve to be celebrated!

-Kathy


PS- I suggested she could create a little book by putting rings through the holes and adhering photos to the back of each card if she wanted to turn the banner into a keepsake.

Monday, July 23, 2012

A Good Layout Stands on its Head!


I promised to show you more tricks with our "Rule of Thirds" layout.


Compare this to the horizontal format from the last post. You can see that the balloon panel is the 2/3 piece, and the stripe is the 1/3 (back to using the World Spectacular DSP that was featured this month at the Lawrence club). The banner has narrowed slightly into a half inch strip.


And once again, if you would rather use stamps, the same proportions work - I've cut a couple of strips of paper with the Adorning Accents Edgelits, embossed them with the coordinating folders, and added two images from the My Friend set (French version, why not?!).

So many looks, so simple. What are you waiting for?

-Kathy

Friday, July 20, 2012

Stamp Club Olathe - July 2012

How would you design a card that can be quickly modified for any recipient, any occasion? That was the hostess' challenge for the Olathe club this month!


I decided to focus on a good strong layout, using DSP as my main element. Patio Party seemed a good choice, since it contains general "birthday" themes as well as some patterns and also some florals.


Did you spot the "Rule of Thirds"? That's always a great place to begin. One panel is roughly 1/3 the width of the card, the other 2/3. The banner strip ties them together, and the medallion provides a focal point. Aren't the new Apothecary Accents Framelits great shapes? The birthday sentiment is from Itty Bitty Banners.


See how simply substituting the floral DSP for the cakes makes immediately more feminine? I thought the butterflies made a nice combination with the flowers.

 
Wait, what happened?! It's doing tricks. A strong layout can easily be turned in another direction, as you can see.


If you prefer to use stamps instead of DSP, you can still get the same effect. Here I've collage-stamped an image from the set Papaya Collage, then added a banner strip (using another image from that set) and medallions as above.

In my next post, I'll show you how to turn this layout on its' head! 

Stay tuned,
Kathy

Thursday, May 24, 2012

Goodbye, Die!


As you know, it's our annual retirement season for those of us affiliated with Stampin' Up! I had purchased the Bitty Box & Envelope die several months ago, but in all the other activity I'd just not managed to break it out. It's the story of many a love affair... realizing too late how much the object of your affections means to you! (giggle-by the way, as of this moment, you can still order this die! It is being discontinued May 31 or when supplies are exhausted.)

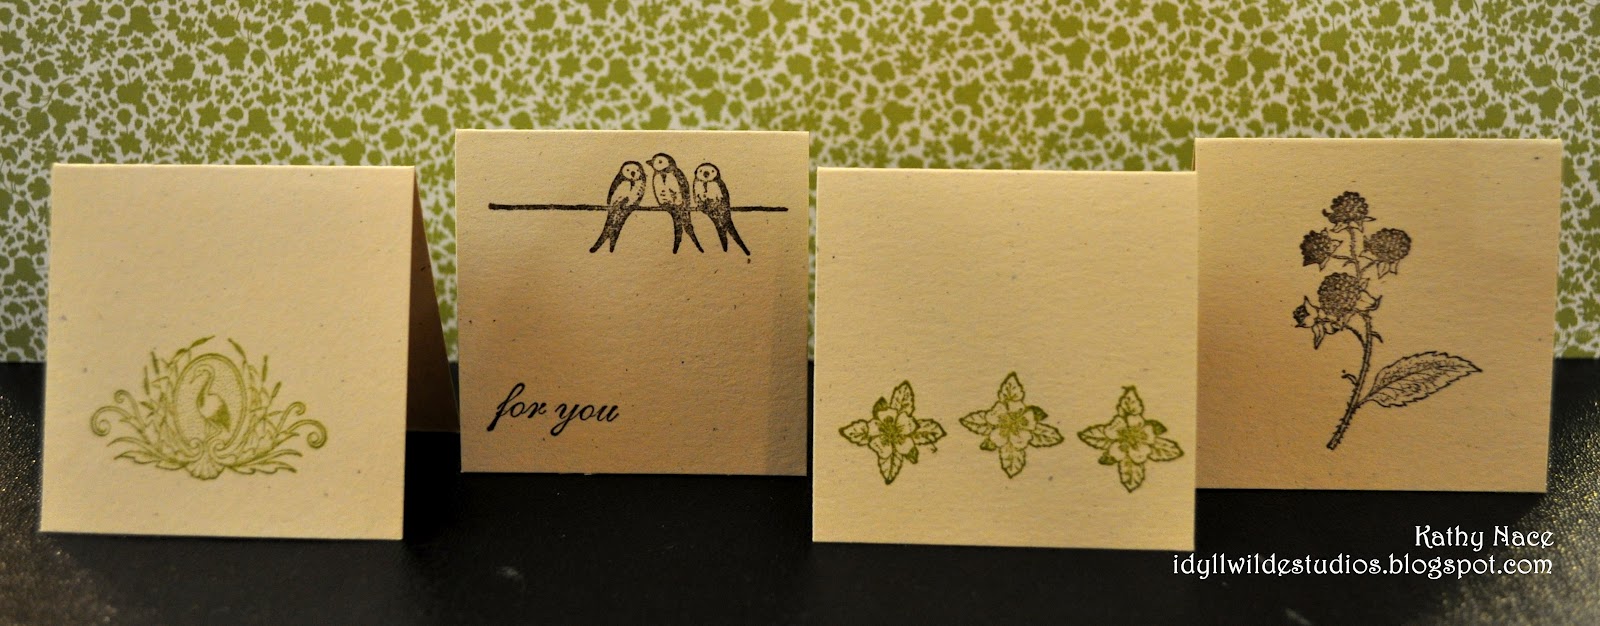
The box/envelope accommodates 3x3" cards, which I made from naturals ivory CS with Old Olive accents. Don't you think "wittle" things have built-in charm?! The beautiful thing is, the die cuts little envelopes too, a perfect way to use up some scraps of DSP! My sister just gave me a duplicate set of Clearly for You, and the images are ideally sized! I've used Early Espresso and Old Olive classic inks.

If you haven't yet, check out the list of retiring stamps and accessories. There are some nice deals there, don't let 'em get away!  -Kathy

Stamp Club Olathe - May 2012


The hostess for this month in the Olathe club wanted to recreate the card on p.116 of the 2011-12 IB&C using the two-step stampin' set Flower Fancy. However, she also wanted to incorporate the framelits labels. This is a great little mental exercise, and I think the results were simply charming. We gave some thought as well to gussying up the inside of the card. Version two, using hostess set Simply Soft, was created by the ladies at the second table (we split the group for practical reasons, less wait time and more elbow room!). We used a Stamp-a-ma-jig for this image, since it's smaller and more complex and we wanted to get the color on the allium inside the lines.

If you've never played with two-step stamps, give it a try! They're perfect for a casual look, and so quick and easy.  -Kathy

Tuesday, April 24, 2012

Daisies #2 Project


Materials  List

Dies

114520 Flower, Daisies #2  $19.95
125598 Framelits "Labels Collection" $26.95

Card-stock

So Saffron CS
Chocolate Chip CS
Whisper White CS

Inks

More Mustard Classic
Chocolate Chip Classic

Extras

112533 Jumbo Brads 5/8"   $6.95

Non-SU Jumbo Paper Clip ( found at a local Office Supply Store)

Monday, April 16, 2012

A Place for Everything


We live in an older home with zipp-o storage. The area which was designated for the washer & dryer before we bought it, was - not long before that - a back porch. We managed to make a place for hanging clothes, and to install a couple of shelves above the appliances. Here lives not only laundry soap, stain removers, and bleach, but light bulbs, cat food & paraphernalia, dead flashlights, picnic & beach stuff, coolers, hiking gear... oh yes, and garden dreams (mostly in the form of seed packets) and canning supplies. Talk about a clutter nightmare!

As I was thinking about how to tame this beast, I decided what was needed was some visual consistency (restful to the eyes), a functional way to combine "like items", and easy access. My solution was to acquire a number of large plastic gelato tubs (at the time my daughter worked as a barrista in a coffee shop - convenient!) which I spray painted yellow, then I just laid some assorted leaves on them and shot on some green and rust spray paint, allowing the leaves to act as stencils.
The smaller items went into the tubs, and this has successfully worked for some years now - except for now and then forgetting what category was in which tub.

When the framelits labels dies arrived in the studio, I knew the final piece of the puzzle was about to fall into place. I typed my categories into Word and ran them onto very vanilla CS, then ran these through my Big Shot with the framelits and added color with stamps and some vintage buttons (actually, I can still picture the buttons in a row down the front on my grandmother's bath robe).


There you have it. Although in April we have Earth Day to remind us to think twice before we label something trash, my family has always believed in Reduce, Reuse, Recycle as a praiseworthy way to utilize our God-given creativity. Hope this will spur you to think how you might re-purpose some "trash" into useful service.
-Kathy

Wednesday, April 11, 2012

Stamp Club Lawrence - April 2012


Link
...and in Lawrence this month, stamp club members learned to use fabric on cards as a ribbon replacement and/or as a 3D embellishment!

Our hostess for the April club meeting is a quilter, so what a perfect choice. This is the flower featured in the Sale-a-bration brochure that so many of my customers requested to learn. If you'd like to give it a try, you can find it here.

Once again, I must thank a fellow demo from Topeka (you rock, Deloris!) for the basic layout of this card. Isn't it great what just a narrow strip of DSP can add to the overall look?! And the new edgelits dies and embossing folders are just perfect for adding visual and tactile interest.

Enjoy the April showers, Kathy

Monday, April 9, 2012

Stamp Club Olathe - April 2012


The request was for a man-birthday card, so of course we had to do the shaving cream-reinker background, and of course the card had to have moving parts!

My inspiration came from fellow demo Arla of Topeka, who recently reviewed this "telescoping card" with us. The framelits worked well for creating added interest to the shapes, but of course you could use a variety of circles. I did one design that pulls down, and the other telescopes up.

Such a great reminder to take time to play as you work, just to see what happens! -Kathy

Monday, April 2, 2012

Treat Yourself to a Workshop!


Although most of what you see here on the blog is from stamp classes and clubs, we also do workshops to introduce new folks to the pleasure of stamping. I wanted to show you something I put together for a customer who asked for a workshop with a "cupcake" themed project.


The card uses a hostess set from last years' IB&C, although several of our current sets would have worked splendidly too. Why would I feature a retired set? It was accessible and fit the theme, of course. Also, we are coming up on that time of year when Stampin' Up! retires many, many items from our current catalog and introduces new ones! I wanted to emphasize that if you like something in this catalog, it may no longer be available to you after June 1.

The cupcake treat holder begins with the petal cone die for the Big Shot. Some sponging and a little DSP, and voila! Looks good enough to eat regardless of what you put inside.


Imagine: Someone creates a project, cuts all the pieces, shows you how to put it together, gives you inspirational materials to look through, and helps you get those creative juices flowing. As hostess, you just invite a few friends over, clear off the table (or host at the studio, we're flexible!), maybe decide to make some treats (or not), then relax and enjoy the experience. If your friends decide they like stamping and perhaps order a few items (no sales pressure, promise!), you earn free merchandise!*

Sound like fun? Talk to Monique, Lori or myself. We'd be happy to schedule a workshop for YOU!
-Kathy

*Hostesses earn
free merchandise on orders totaling $150 or more.

Saturday, March 31, 2012

...Hoppin' Down the Bunny Trail


If you're filling Easter baskets this year, here's a quick treat container for you!

Each "carrot box" begins with two petal cone die cuts from orange DSP. You won't need the accessories, just the cone itself, and the die will easily cut through both layers at once. Glue together to form box, then fill with treats. (if you wish to cut a window in your box, do so at this point by simpy cutting an opening 1/2" from each edge of one side of your box, using a ruler and an x-acto knife.)

Since I was using food, I protected it in our little cello bags and tied it with a piece of seam binding tape. Tuck your goodies in the cone, and glue the flaps closed. Top with a long-tailed knot of green rribbon.

Wednesday, March 28, 2012

Clean & Simple Elegance


Want a quick yet elegant card for just about any one on any occasion?! How about this clean and simple beauty? It goes together in under 10 minutes.

Simply cut a strip of Whisper White card stock to 4.5" x 11" and score your fold line at 5.5". Fold and crease firmly with bone. Using black StazOn ink (instant dry, fine line, will not smear if you color over it with marker or Aqua Painter), stamp the foliage spray in the lower left corner of the card, leaving 1/4-1/2" margin to the edge. Add a word phrase (the hostess set Perfect Words has some great choices).

I've colored in all sets of three circles with a Real Red marker, and placed a basic pearl on the single circles of the design.

Finally, to pop the color and add dimension, I've attached three butterflies by folding in the middle and using Tombow. The dots and stripes on the butterflies add a sense of fun.Ta da! It doesn't get much simpler than that, but its very simplicity is what creates the elegance.

Give it a try! -Kathy


All supplies Stampin' Up!

Stamps: Creative Elements, Perfect Words (hostess)
Inks: black StazOn, Real Red Stampin' Write marker
Paper: Whisper White CS, 2010-2012 In-Color DSP Paper Stack (butterflies)
Accessories: Basic Pearls, Beautiful Wings sizzlit, Tombow Multipurpose glue