Had to split the post when it became cumbersome, so this is just to give you close-ups and interior views. -Kathy
Showing posts with label Set Sampler - Spring Share System. Show all posts
Tuesday, March 1, 2011
I Want it All: Cuties Up Close
Had to split the post when it became cumbersome, so this is just to give you close-ups and interior views. -Kathy
Monday, February 28, 2011
I Want it All: 3x6 Cuties
I really like 3x6 cards. They're not so big that it's hard to get enough stuff on them to make them seem full, but not so small that you have trouble fitting anything. And if you're a scrapbooker, cutting your 12x12" sheets of paper into 6" squares gives you 4 card bases with zero waste!
But wait. This set of materials provides 8.5 x 11" card stock. Hey! Let's think outside the limits! I've cut a 6x11" length from one of my sheets of CS (the Naturals Ivory), then cut this in half, forming two 6" x 5.5" squares. Score these at the 3" mark to fold into 3x6" cards, with one side measuring just 2.5" x 6". This "short side" is going to form a "springboard for creativity", as I like to call situations that push you to work with something that didn't turn out the way you planned, or that isn't the way you've always done it before.
And by the way, the leftover strip is perfect for stamping sentiments and punching them out.
I cut 2x6" strips from a couple sheets of DSP. I also cut 1x6" strips from some coordinating DSP. These 1" strips I ran through the eyelet punch (beginning in the center and working to either end so that the punched design is centered on the strip), then glued them to the underside of the card front. Glue the coordinating 2x6" strip to the card front about 1/16" back from the original edge, so that you have a narrow strip of card base showing. Sponge edges of paper eyelet if desired.
Stamp your cover sentiment onto the leftover strip of Naturals Ivory CS and punch out. Remember to work from the back side of the punch, centering the opening over the sentiment so it's all nice and straight. Sponge edges. Use Stampin' Dimensionals to "pop it up" and adhere. Add a bow (I used 7" of seam binding tape for the red bow, and tied two 3" lengths together for the green one) or other dimensional element, adhering with a glue dot. Add 3-5 faux brads (see "Technique Tips-Faux Brads).
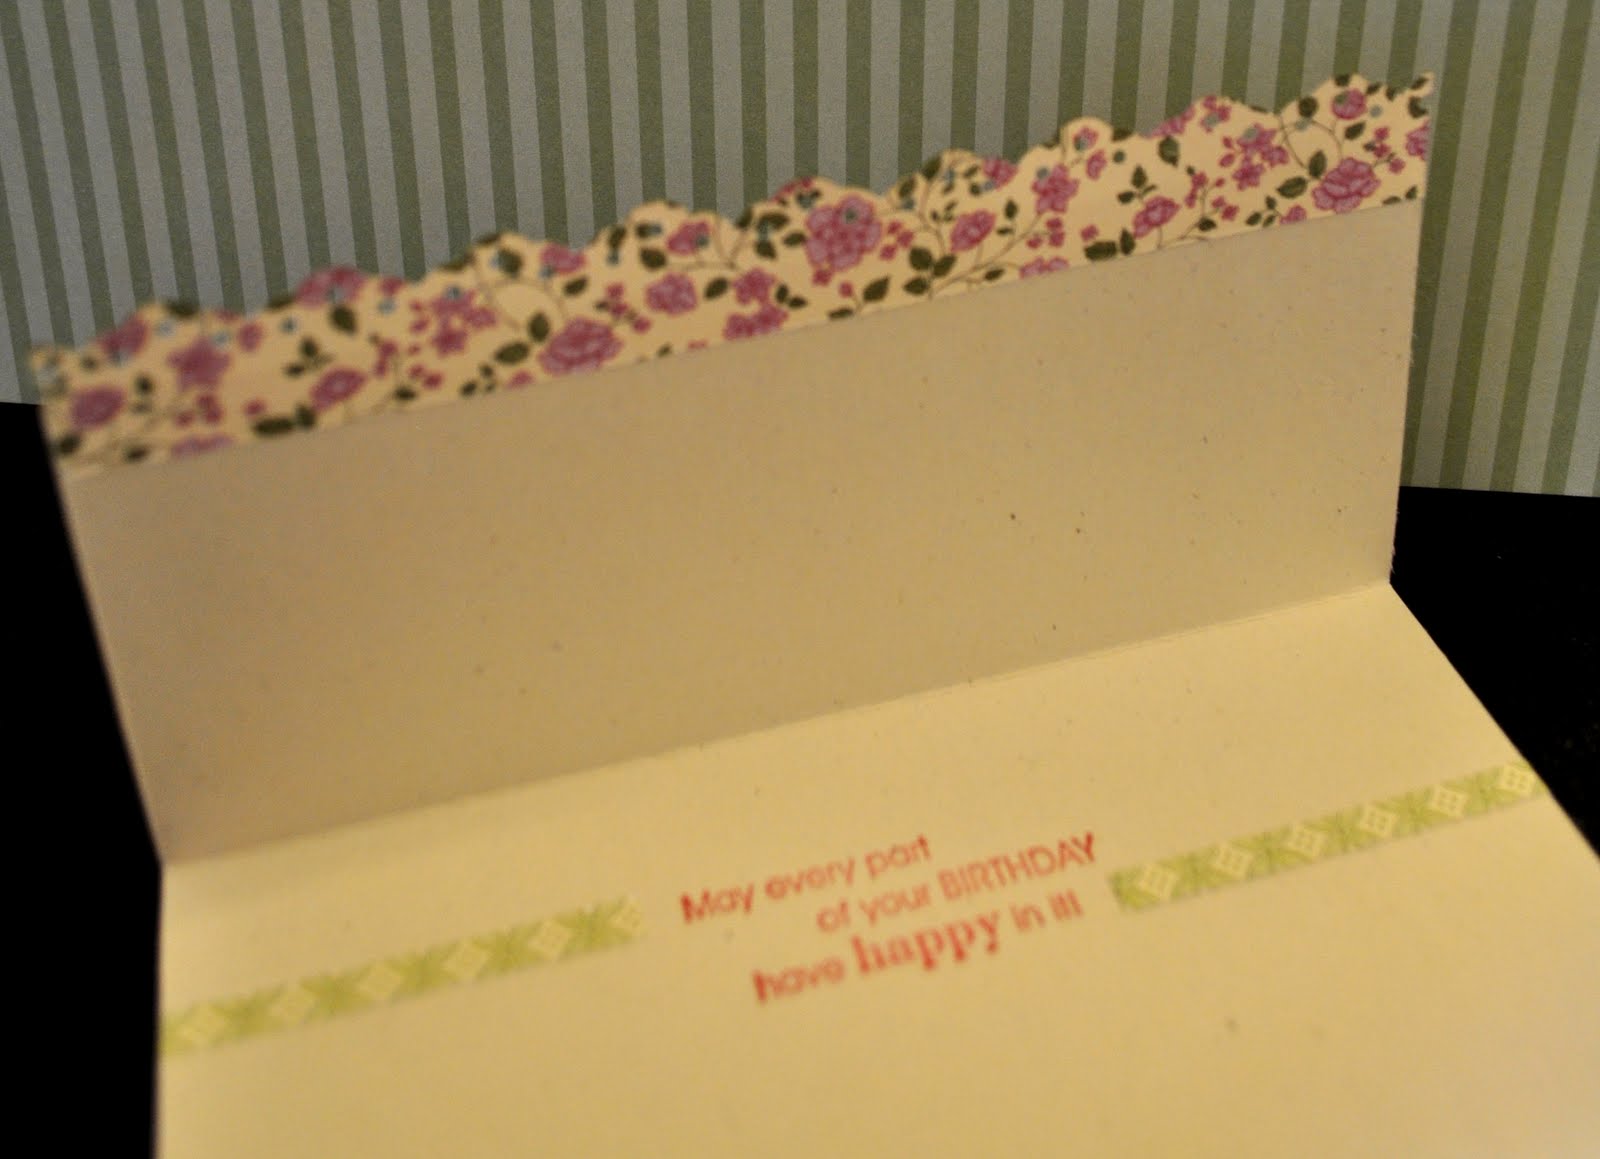
When I stamped a coordinating sentiment on the inside, I decided it would be fun to do a little something unexpected. I used the thin strip of DSP that was left from punching the 1x6" eyelet like an arrow to draw attention to the sentiment (sorry these are a bit fuzzy - tired eyes!).
That's it! Very simple, despite the length of the post. Just trying to show you everything you need in pictures and in words... close-ups of the individual cards to follow in the next post. -Kathy
All supplies Stampin' Up!
Stamps: Sincere Salutations and Full of Life
Ink: Rose Red and Always Artichoke classic
Paper: Naturals Ivory CS, Springtime Vintage DSP
Accessories: 1/4" handheld, Eyelet Border and Decorative Label XL punches; Rose Red and Pear Pizzaz Seam Binding Tape; Tombow MultiPurpose liquid glue, Stampin' Dimensionals, glue dots; Crystal Effects
Monday, January 31, 2011
I Want It All! - Three 3x3s
I decided that for my next set of projects with my "share", I'd make some little Valentines. You can get three little 3x3" cards (3x6" before folding) from a sheet of 8.5 x 11" and still have some scrap left over for future projects. You can ALSO get envelopes to fit, which makes this size ideal for little gift cards! And of course, there is the "cuteness factor" that automatically attaches to miniature things.
I chose to use the Rose Red sheet of CS, cutting a piece 6x9" as illustrated above. I scored down the center of this before cutting it into 3 pieces, each 3x6". Stick one edge of each card in the eyelet or scallop punch, so that the little strip of stripes will show.
From the stripes and rosebuds piece of DSP, cut a half inch piece off one side (work from the stripey side and pay attention to the direction the stripes are going!). Half of this will make two of the cards, so cut another half inch strip for your third card if you wish (you'll have a bit left over). Attach these about 1/8" inside the edge of the card, as shown, using the Tombow. Next, you'll need a strip 1 3/8" wide. When you've cut that, turn it into two pieces, each 2 3/4" in length. Attach these, rosebud side up, to the card fronts, as shown.
All Holidays provided the simple sentiment (what a great set, it covers so many occasions!), stamping with Rose Red classic ink onto a scrap of Naturals Ivory CS. I then used the large oval punch (work from the back to center the sentiment in the opening, then punch) and the scallop oval punch for a "mat" out of a corner of Perfectly Pear CS. I layered these together using Tombow Multi-purpose glue, then popped it on with Stampin' Dimensionals. Note that you can play a bit here, going vertical or horizontal, using roses or knots of seam binding tape (you can adhere either with glue dots or Tombow if you can leave them for a few minutes to dry) or even buttons.
Have fun tailoring to your tastes! -Kathy
Labels:
Kathy,
Set Sampler - Spring Share System
Tuesday, January 25, 2011
I Want It All! - Standard Sized Card
Let's make a standard-sized 4.25 x 5.5" card to begin. Choose your base color and two coordinating sheets of designer series paper (DSP). I selected Always Artichoke and the papers you see here.
Begin by cutting a 2" strip from the side of the lighter piece of DSP. It will be 6" long, so cut a bit off so that you are left with a piece 2"x 4 7/8".
Cut a 3/8" strip from the darker DSP, and trim it to 5 1/4" long.
You will divide the Always Artichoke card stock in half, forming two pieces 5.5"x 8.5". Score one of these in half as shown to create a folded card 5.5 x 4.25". (Set the other piece of Artichoke aside for future projects.) Position card horizontally on work surface with hinge at top. Using Tombow Multi-purpose Adhesive, layer on lightest color as shown, placing the left edge of the strip against the left edge of the card. Note that the space below and at the end of the strip are equal. Next, layer on the darker strip just below half way.
Take a moment now to sponge color onto the edges of the card for some depth and interest. I used Not Quite Navy. Using the Tombow, position a large button near the right side of the narrow strip of DSP as shown. This can set as you complete the rest of the card.
On a scrap of Naturals Ivory card stock, stamp desired sentiment in Not Quite Navy classic ink. Work from the back side of the XL Decorative Label punch to center, and punch out. Sponge edges with Not Quite Navy. Punch two more shapes from coordinating scrap to form "mat". Assemble and affix with Tombow.
Finally, look on the remaining piece of light DSP for a large flower and two sets of leaves near an edge. Cut out using Paper Snips, leaving about 1/8" to 1/16" margin around elements to provide stability. Attach with Stampin' Dimensionals. If you are easily frustrated or don't really enjoy cutting with scissors, this step may be omitted.
Voila! You've just completed your first card using "Share" materials. Check back tomorrow for some "Three for One" Valentines. -Kathy
Labels:
Kathy,
Set Sampler - Spring Share System
Sunday, January 23, 2011
I Want It All! Spring Share System
Has this happened to you?
A new catalog from Stampin' Up! arrives. You flip through the pages and start circling or turning down page corners. By the time you get to the back cover, you realize: You want it all!! One of everything, thank you very much. Then you start adding up the numbers...
I had seen some other demonstrators using a clever approach to this dilemma. They'd choose some items, see how they'd divide out, then invite that number of people to purchase a "share" of the items so that everyone could have some of all of it. I love this kind of thing, where in sharing... you actually get everything you want. So I decided to try it. I chose my favorite new products from the Spring Mini, divided by eight, and asked my stamp club ladies if they'd be interested. Between the two clubs, we had exactly the right number. So for just $13.00, including tax and shipping, a share provided:
6 sheets 6x6" Springtime Vintage designer paper (Mini p.15)
6 sheets 8.5 x 11" card stock in coordinating colors
3 Adornments Roses, 1 each color (Mini P.15)
3' each Baja Breeze, Rose Red and Perfectly Pear Seam Binding Tape (Mini p.16)
3 mini vintage tags (IB&C P.186)
4 big buttons, 1 each color (Mini p.16)
3 Antique Brads (IB&C p.187)
8 Bitty Buttons, clear, 2 each style (IB&C p.186)
I will be posting a series of ideas of what one might do with these materials, so check back often. And if you're not in a stamp club but you still want it all, watch for the next offer here at the blog or in your e-mail. -Kathy
Labels:
Kathy,
Set Sampler - Spring Share System
Subscribe to:
Posts (Atom)