Showing posts with label Punches. Show all posts

Monday, August 25, 2014

Silver Shimmer


Today's post is for all you "bling" lovers out there. Dawn Olchefske was inspired by a piece of jewelry to create this elegant card with the Petite Petals, Pansy, and Itty Bitty Accents punches. Of course, the gorgeous Million & One sentiment set (stamped here in Basic Gray) is a perfect match to the Silver Glimmer, Silver Foil and Whisper White papers.


The only other thing you need for this card is a whole bunch of Stampin Dimensionals and some Basic Pearls and Rhinestones.

Isn't "Clean & Simple" wonderful?!

Kathy


Wednesday, September 11, 2013

Stamp Club Lawrence: September 2013


 The hostess for September chose to work with the air dry clay available in the new Stampin' Up! Idea Book & Catalog. This product offers a fabulous way to make embellishments, ornaments, and so much more... I'll be posting several project ideas using this product, so stay tuned! (You can find them all by clicking on the label "Products- Air Dry Clay").


For this polka-spotted card, I tinted the clay with just a couple of drops of re-inker to make the white clay more like our vanilla. Before pressing the clay into the molds, I dry-brushed a little Dazzling Diamonds onto the silicone mold. Once dry, a drop or two of Tombow Multi-Purpose Glue holds the flower in place - and it cost just pennies to make!


Don't you like the perky paper bow? That's done with an oval punch! I really like the Modern Medley Designer Series Paper. The black-and-white patterns mix and match with just about everything. The stamp set is Gifts of Kindness - it has the prettiest little font style!

Kathy

Thursday, May 24, 2012

Stamp Club Olathe - May 2012


The hostess for this month in the Olathe club wanted to recreate the card on p.116 of the 2011-12 IB&C using the two-step stampin' set Flower Fancy. However, she also wanted to incorporate the framelits labels. This is a great little mental exercise, and I think the results were simply charming. We gave some thought as well to gussying up the inside of the card. Version two, using hostess set Simply Soft, was created by the ladies at the second table (we split the group for practical reasons, less wait time and more elbow room!). We used a Stamp-a-ma-jig for this image, since it's smaller and more complex and we wanted to get the color on the allium inside the lines.

If you've never played with two-step stamps, give it a try! They're perfect for a casual look, and so quick and easy.  -Kathy

Tuesday, May 1, 2012

Summer Smooch Wreath

Paper Rosette Wreath

DSP - Summer Smooch
Brights Button Collection
Whisper White 5/8" Stain Ribbon
Linen Thread
Blossom Bouquet Triple Layer Punch
1-1/4 Circle Punch
Simply Scored Scoring Tool 
Mulit-Purpose Liquid Glue (aka-Tombo)
Sticky Strip
Glue Dots
Non-Stampin' Up! Wood Cut-Out Frame
Non-Stampin' Up! Hot Glue Gun


Monday, March 12, 2012

Stamp Club Lawrence - March 2012


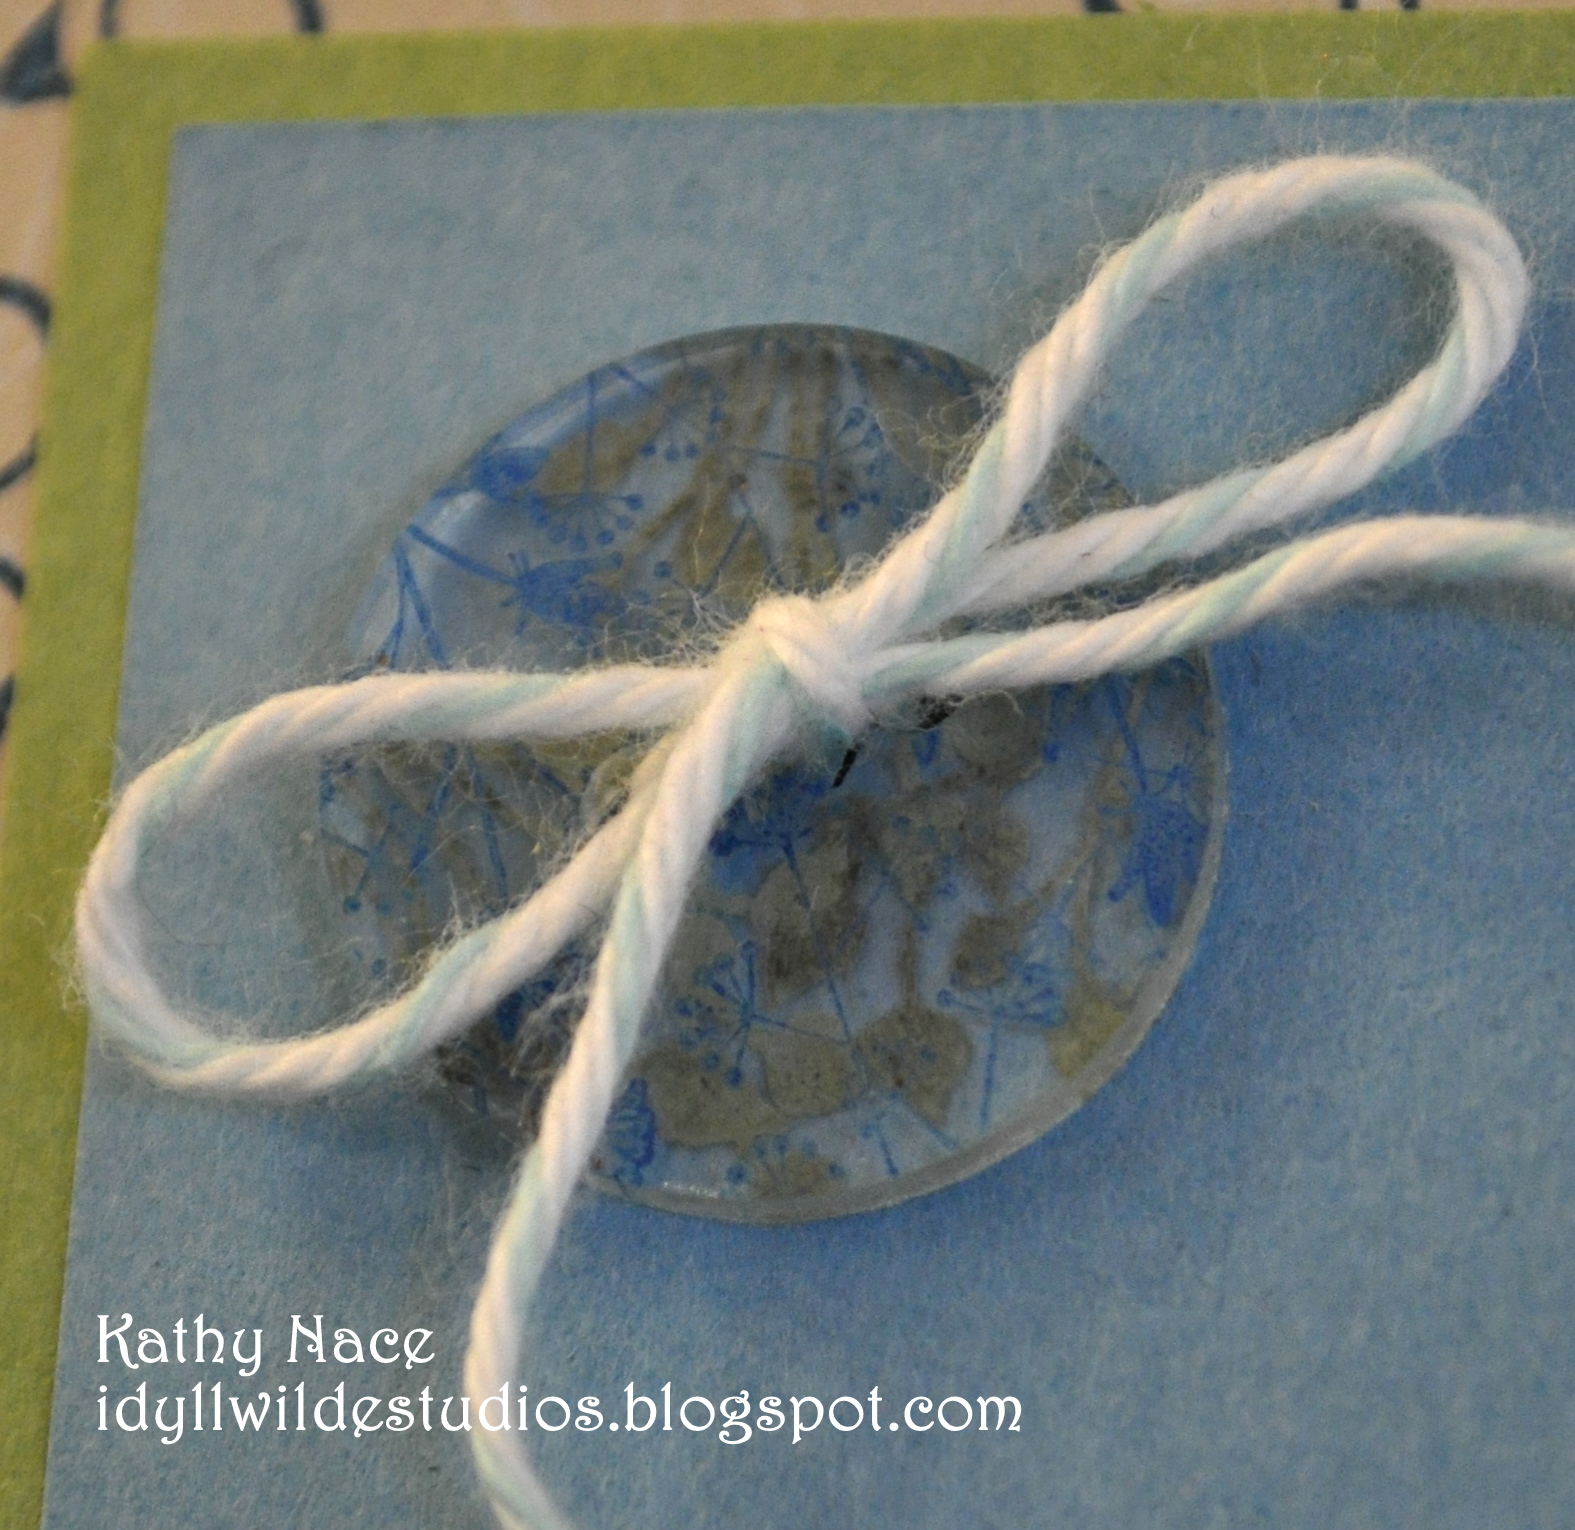
My stamp club hostess for March wanted to play with polyshrink (a.k.a. "Shrinkydink"). This is a really great material to use with stamps, and the possibilities are only as limited as your imagination! For our meeting, I chose to teach the group how to make patterned buttons, a technique my daughter tried out when we had a play date in the studio over Christmas vacation. Shrink plastic looks like overhead transparency sheets, but when you apply heat (using your embossing gun or the oven) it writhes and wiggles and eventually thickens and ends up at about 40% its original size. In this example, we stamped with craft ink on both sides (one blue, one green) to give added depth. Remember to punch any necessary holes before you apply heat!

The card also features the
build-a-bird punch, Bordering on Romance stamp set from the Occasions mini catalog, and a wonderful technique using blender pens and craft ink.

Isn't it amazing that we can use the same set of materials (stamps, ink, paper & accessories) and come up with so many different looks?! I love this job...
-Kathy

Sunday, February 26, 2012

Sale-a-bration Sundays: Lisa's Card


Friend and fellow demo Lisa sent along this card featuring Sale-a-bration paper. Can you see the way she's used the postage stamp punch to form a decorative quilt-like strip before running it through the Big Shot with the edgelit die? Even though Island Indigo isn't actually in the paper palette, it does a wonderful job of enhancing the colors of the patterned paper. Way to go, Lisa! -Kathy

Wednesday, February 8, 2012

Treat Package Remake - 1


You remember the elegant chocolate treat packages that Lori made up for our Holiday Open House in October? I liked them so well (both aesthetically and actively with my taste buds!) that I decided to do a re-make for Valentine's Day.

It just so happened that I had some scraps of paper left from the Holly Berry Bouquet paper I bought at Christmas. It's all sparkly and eye-catching, just begging to be released from scrap pocket jail! Here's a thrifty tip: When choosing your holiday colors or shopping the after-Christmas sales, red and white patterns such as stripes, checks, plaids and polka dots can extend into Valentines Day and (with the addition of a "true blue" patriotic picnic decor for the summer months.

For each chocolate bundle you'll need:

a cardstock base 1.75" x 2"
two strips of DSP 1" x 3"
two 1 3/4" scallop circle punches of contrasting DSP
about 14" of seam binding tape (the wider/stiffer the ribbon, the longer it needs to be)
Tombow Multi-Purpose glue, clear Scotch tape, and glue dots
two Hershey Nuggets, flavor of choice

1. Wrap the 1x3" strips around the belly of the nuggets and secure on the bottom with tape.
2. Position the scallop circle punches on the base with the side you want to show facing DOWN. Just under half the scallop circle overlaps the base. Secure with Tombow and allow a moment to set up.
3. Position glue dots on base as represented by white dots.
4. Press nuggets onto glue dots as you snuggle them onto the base.
5. Center ribbon/seam binding tape (in this case Cherry Cobbler) beneath base and slowly cinch sides together as you tie your bow.
6. Optional: Of course, if you want to add a little tag or sentiment, our baker's twine and Jewelry Tag punch would tie on perfectly!

They're cute alone, but twice as nice in pairs. Enjoy! -Kathy

Tuesday, January 24, 2012

The "Stinkin' Cute" Award


I just had to include one "catch-up post" from before Christmas when I disappeared from sight with a most unpleasant infection... Monique and I have a standard for projects that just make you say, "Awwww...!" We call them "stinkin' cute". This swap of Deloris' (demonstrator from Topeka) certainly meets the criteria! The stamp set is Sweets for the Sweet and she's used a bit of designer paper. Wouldn't this be darling tweaked for Valentine's Day or birthday?

To make the candy "tails", she's taken a scallop circle punch (1 3/4") of DSP and scored it like a pie. Cut this in half, then fold - beginning with a "mountain" fold. Secure under candy body with Tombow Multipurpose glue.

Way to go, Deloris! Thanks for sharing your creativity with us. -Kathy

Monday, September 26, 2011

Emboss Resist of Many Colors


Today I want to introduce you to a demonstrator of only a few months, Joy Robinson. She has been working very hard to master new techniques and grow her confidence in composition, and I'd say we're seeing the beginning of a real success story, wouldn't you?! Note how she has repeated her colors multiple times to tie together the composition, the creative use of punches, and the subtle visual texture she achieved by embossing the Cajun Craze with the new stripes folder. Subtlety was important so that the complex pattern of the stamped image could shine! And speaking of that embossed image, I want to point out how, simply by the choice of colors, Joy shifted it into an autumn theme. You could easily sponge on blues and it would be wintry, or pastels for spring... General, flexible images like this are great to have tucked away in your arsenal for when nothing else seems to quite match the theme you had in mind for you card. Way to go, Joy! -Kathy

All Supplies Stampin' Up!

Stamps:
Day of Gratitude
Inks: Night of Navy, Cherry Cobbler, Summer Sun, Old Olive
Paper:
Night of Navy, More Mustard, Cajun Craze, Very Vanilla CS
Accessories:
Stripes Embossing Folder and Big Shot; Lace Border, Decorative Label and XL Oval punches; Black Stampin' Emboss powder and Heat Tool; Stamping Sponges; Stampin' Dimensionals

Friday, September 9, 2011

Angry Bird Birthday


Hello again,

I made this card for a co-worker's birthday who's addicted to Angry Birds and is playing it on his phone any chance he gets. I've not played the game myself (probably a good thing...) but I hear it's all the rage! Happy Birthday Justin!

Monique.


All materials are Stampin' Up!

Ink: Chocolate Chip
Paper: Bashful Blue, Basic Black, Whisper White, Chocolate Chip, Real Red, Old Olive, and Daffodil Delight. Certainly Celery and Wild Wasabi
Accessories: Word Window, Scalloped Oval, Large Oval, Owl Builder, Various Circles and Boho Blossoms punches; linen thread.

Thursday, August 25, 2011

Love Those Demonstrators!!


It has become a much-anticipated tradition that the group of demonstrators I hang with stages a "mini-conference" each August. We all create a project for the others to do, and go home with a dozen or more great ideas/samples for the price of one! Not to mention, there is a super pot luck lunch, lots of laughter, and
chocolate. Now, don't you wish YOU were a demonstrator, too?! (You could be, you know - just talk to me about that secret longing...)

This is the card I prepared to share with the group. I wanted to highlight the fact that Stampin' Up! is an international company, and many of our stamps are available in Spanish and French as well as English! Sooo, here is the marvelously elegant
My Friend stamp set in French, stamped in black craft ink on River Rock CS. We used En Francais with Versamark Ink for some background visual texture. The sentiment is also stamped in craft on River Rock - give it plenty of time to dry before you "fussycut" that thing, or for some deep shine try embossing the foliage and the sentiment with black embossing powder. For a little zing, I introduced some Cajun Craze "lace" made with the new Lace Ribbon Border Punch - takes just half a strip per side. The card base is Basic Black, and the technique for the faux brads can be found in the Noember 18, 2009 post. Inside, we masked off part of a stamp from the On Your Birthday set for a more general sentiment. The foliage is stamped again in Versamark, and the corners are nipped with the Ticket Corner Punch.

It's pretty simple, but striking, don't you think? Stay tuned for more samples using this set - I can just feel that it's going to be a favorite! Kathy

Wednesday, August 3, 2011

Katelyn's Bouquet


Katelyn is the niece of one of my stamp club members. She paid a visit to the studio while she was here, and I showed her the peeled paper flowers. Before long, she had completed almost 40 of them, using just about every color under the rainbow. Isn't this a sight for sore eyes at a time of year when the heat is leaching the color out of just about everything else in the landscape?!

Good job, Katelyn! You certainly met the challenge for the month of using these flowers in a new context. -Kathy

Monday, August 1, 2011

Lawrence Stamp Club - August 2011


I was excited when the hostess for club this month requested we use a letterpress plate, since I just hadn't got round to trying them out yet (although I have used some of the texture plates in a similar manner). The project I designed uses the new Fancy Fan design, which I inked in white craft before printing onto Calypso Coral. These plates emboss slightly while transferring the ink to the paper. It's just like helping my dad on the little printing press he used to use for engraved invitations!

Atop some Little Leaves sizzlet shapes in Certainly Celery is a collection of soft punched and "peeled" flower clusters on the right, accented with Basic Pearls. The sentiment is from Word Play, with a card base in Poppy Parade.

Enjoy what blooms remain in you garden this month. -Kathy

Monday, July 25, 2011

Pennants & Fun Folds


Today I have a couple of examples from a recent swap with other demonstrators for you.

The first showcases the new Petite Pennants Builder punch and mini clothespins that you'll find in the 2011-12 IB&C. Thanks, Deloris!

The second is called a "center step" card/fold. I think it makes a great presentation for a little piece of cardstock - wouldn't it showcase a photo or some really nice watercoloring well? This is the quick version, letting some beautiful DSP do the work for you (Beyond the Garden). The new Four Frames stamp set guides the eye to the sentiment. Good choice, Lily - I'm a bit of a "fun fold junkie" and I'd never seen this one before.

Be inspired! I sure was... -Kathy

Tuesday, July 12, 2011

Olathe Stamp Club - July 2011


Look what's blooming in Olathe, Kansas! (Carnations, chrysanthemums, dahlias...? Choose your color and change your flower!)

The gals voted this month to have me show them a variety of embellishments that could be used on cards, scrap book pages, or 3D projects, and these peeled paper beauties were a favorite out of the half dozen or so that we tried.

I left them with the challenge of designing the perfect project to go around the embellishment - now, how's that for a reversal of roles?! -Kathy

Thursday, June 23, 2011

Stripz: Collected Ideas


I've been cleaning out the bulging paper scrap packets in the studio lately - those of you who know me well know what a painful process this is for me. I had decided I was going to be really hard on myself, and throw away those fistfuls of half-inch strips that somehow accumulate... and of course immediately I needed a bunch of them and they weren't there!! So I decided instead that I would collect ideas that specifically use those half-inch scraps. And, I thought I'd share the results with you. I'll post something on this theme every couple of weeks for awhile, until I feel satisfied that I've accumulated the majority of good ideas in one place. From this point on, you can find them all together by clicking on "Stripz" in the sidebar.

I'm going to begin by revisiting a card I made using 1" strips of DSP as the background, because it also features the star punch which is retiring June 30th. I like the fact that this card can be used for Independence Day or simply as a nautical theme for a guy or kid birthday... or anyone who enjoys sailing or is a Veteran. I've made the sentiment general, too - on the small star beneath the word "celebrate" it's just possible to pick out the word "YOU".

Simply collect together a fistful of likely-looking strips. Sponge the leading edges (in this example I used Night of Navy to sponge red and white patterned papers). Cut a piece from a scrap of card stock slightly smaller than your card base. Glue all your strips onto this piece, overlapping slightly and allowing them to hang over the edges. When it's covered, flip it over and use the edges of the CS to trim against. Ta da! An interesting background that uses up loads of those little strips. -Kathy

Monday, June 20, 2011

Lots of Luminaries


I wanted to share with you some wonderful swaps I received at a demonstrator meeting last week. The challenge was for each of us to make a luminary, and we could interpret the details from there. As usual, this creative group of ladies came up with loads of lovely ideas, as you can see above. Amazing what you can do with a little paper, vellum, and ink! I'm sure I don't need to say this, but I will: these are not designed for use with open flames! We had the little battery-operated LED tealights, and they even flicker.

Mine is the green one shaped like a rocket ship. It's made from three 4" squares of card stock, each scored once on the diagonal, then folded and glued. I got the idea from http://stephaniejomayne.blogspot.com/2009/05/pyramid-card-tutorial.html

Just be sure if you're overlapping two layers, that you punch your holes
before you glue them together - punches don't like to go through two layers at once! I made a quick little template from scrap cardboard to ensure that I'd get the punch in the same spot every time. I ran some scraps of cardstock vellum through the big shot to emboss the poppies, then used a sponge dauber to give some quick color "inside the lines" from the back to add a bit of interest. I glued the vellum between my layers of CS as I was assembling the luminary, solving the difficulty of adhering vellum and making them neat and pretty. I eliminated the tucked slit on this project because they didn't need to be mailed, and simply glued everything.

Hope you'll take the time to sit outside some evening soon with twinkling luminaries and fireflies and stars in the summer sky. -Kathy

Saturday, March 5, 2011

Sale-a-brate 2011: Tulip Time


I took time earlier this week to play with some of the goodies available through the Sale-a-bration promotion going on just now at Stampin' Up! Here's the first project, using an oval punch on the limited edition DSP and the "Sweet Summer" set. I've decorated the envelope and the inside of the card with the same elements.

Hope you're planning to place a qualifying order ($50) before March 31 so that you can attend the free class and make one of these for your very own - it's a cinch to put together and I think it's a design you'll return to time after time using different materials! -Kathy

Thursday, November 11, 2010

Thursday, September 16, 2010

Night Owl


This Card was the start of My Halloween. Just putting it together made me feel like getting all dressed up to go out and buy big bags of candy.

Simple, Simple Card to put together.

Stamp Set:
Afterthought - Hostess Set

Ink:
Soft Suede - Classic
Pumpkin Pie- Classic

Paper:
Perfect Plum - for the Web
Basic Black for the tag and card base
Old Olive for the branch
More Mustard for the Moon
Very Vanilla for the Tag

Accessories:
Owl Punch
Bird Punch
Spider Web Textured Impressions Folder
Big Shot
Stampin Sponges
Glue dots
Stampin' Dimensionals
Snail Adhesive