Monday, February 28, 2011

I Want it All: 3x6 Cuties


I really like 3x6 cards. They're not so big that it's hard to get enough stuff on them to make them seem full, but not so small that you have trouble fitting anything. And if you're a scrapbooker, cutting your 12x12" sheets of paper into 6" squares gives you 4 card bases with zero waste!

But wait. This set of materials provides 8.5 x 11" card stock. Hey! Let's think outside the limits! I've cut a 6x11" length from one of my sheets of CS (the Naturals Ivory), then cut this in half, forming two 6" x 5.5" squares. Score these at the 3" mark to fold into 3x6" cards, with one side measuring just 2.5" x 6". This "short side" is going to form a "springboard for creativity", as I like to call situations that push you to work with something that didn't turn out the way you planned, or that isn't the way you've always done it before.

And by the way, the leftover strip is perfect for stamping sentiments and punching them out.

I cut 2x6" strips from a couple sheets of DSP. I also cut 1x6" strips from some coordinating DSP. These 1" strips I ran through the eyelet punch (beginning in the center and working to either end so that the punched design is centered on the strip), then glued them to the underside of the card front. Glue the coordinating 2x6" strip to the card front about 1/16" back from the original edge, so that you have a narrow strip of card base showing. Sponge edges of paper eyelet if desired.

Stamp your cover sentiment onto the leftover strip of Naturals Ivory CS and punch out. Remember to work from the back side of the punch, centering the opening over the sentiment so it's all nice and straight. Sponge edges. Use Stampin' Dimensionals to "pop it up" and adhere. Add a bow (I used 7" of seam binding tape for the red bow, and tied two 3" lengths together for the green one) or other dimensional element, adhering with a glue dot. Add 3-5 faux brads (see "Technique Tips-Faux Brads).

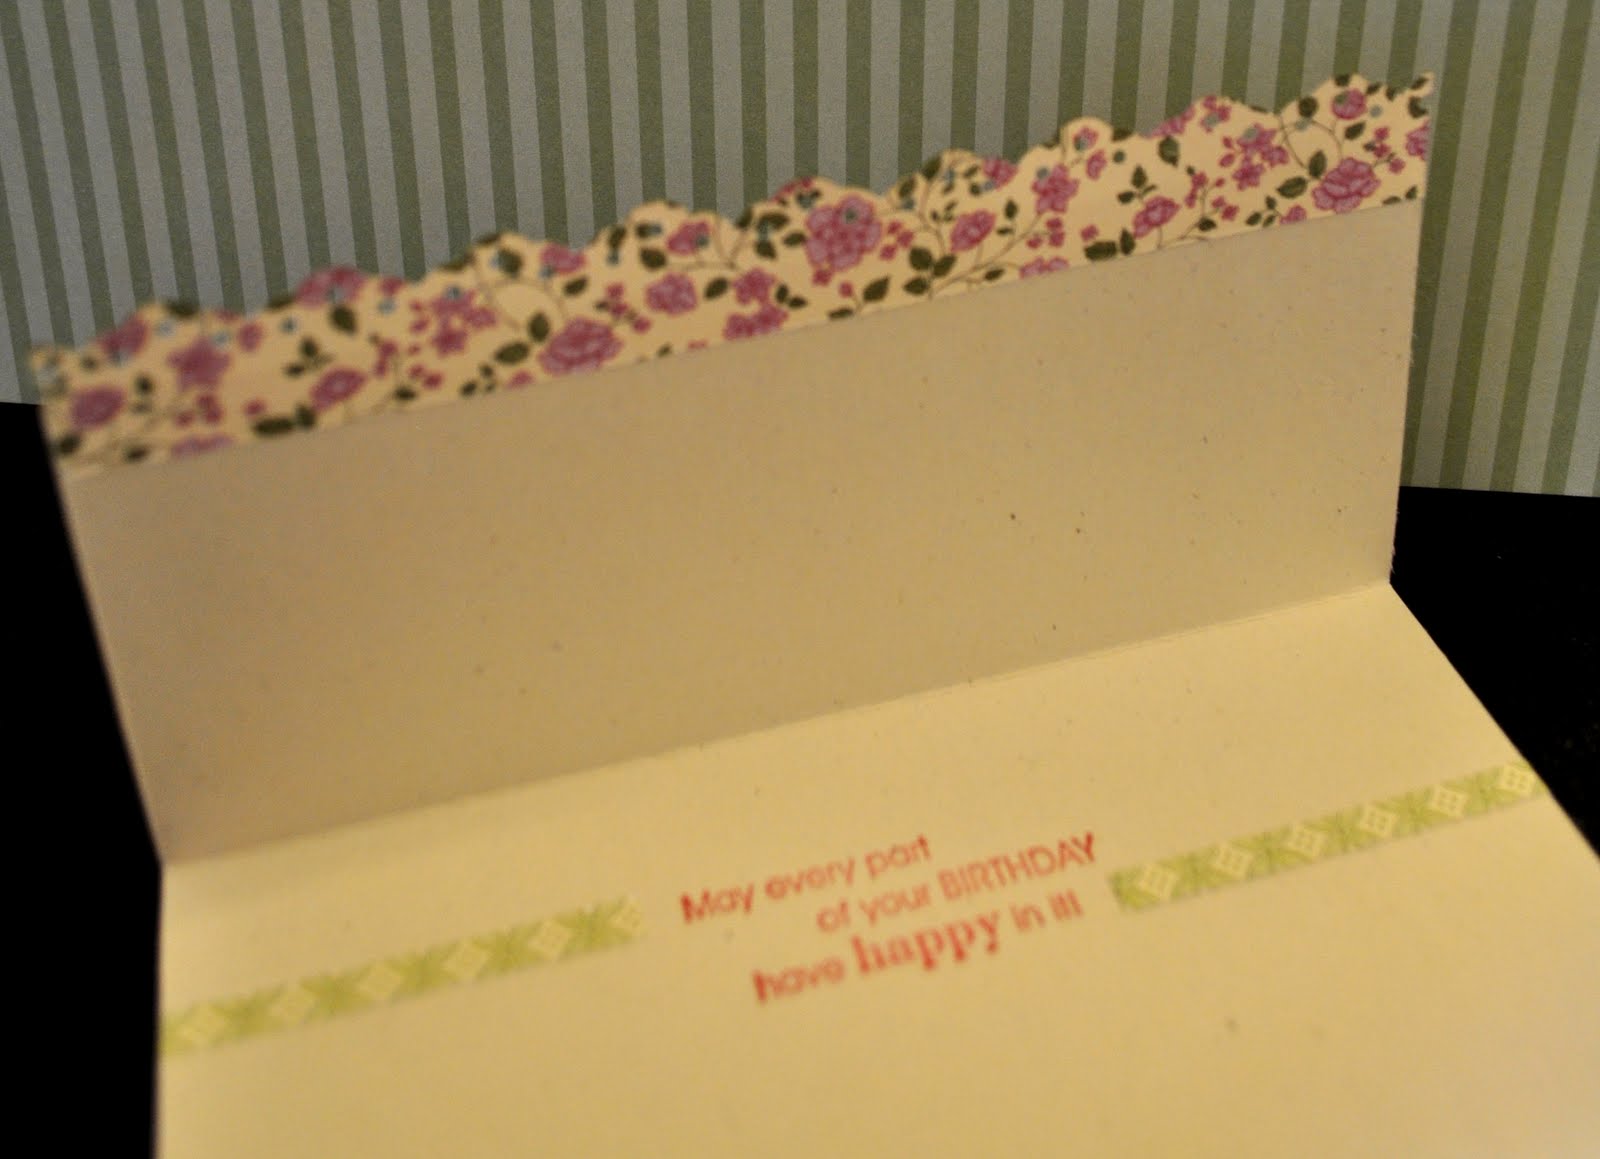
When I stamped a coordinating sentiment on the inside, I decided it would be fun to do a little something unexpected. I used the thin strip of DSP that was left from punching the 1x6" eyelet like an arrow to draw attention to the sentiment (sorry these are a bit fuzzy - tired eyes!).

That's it! Very simple, despite the length of the post. Just trying to show you everything you need in pictures and in words... close-ups of the individual cards to follow in the next post. -Kathy


All supplies Stampin' Up!

Stamps: Sincere Salutations and Full of Life
Ink: Rose Red and Always Artichoke classic
Paper: Naturals Ivory CS, Springtime Vintage DSP
Accessories: 1/4" handheld, Eyelet Border and Decorative Label XL punches; Rose Red and Pear Pizzaz Seam Binding Tape; Tombow MultiPurpose liquid glue, Stampin' Dimensionals, glue dots; Crystal Effects

Wednesday, February 23, 2011

Spring 2011 Class Schedule

I wanted to let you know about the upcoming classes I'll be holding at the studio:

Single Layer Simplicity ($12) Saturday, February 26, 9-11am. Perfect for beginners with few supplies and for those who like the elegance of simplicity. I'll be teaching you four ways to achieve a rich, dimensional look on a simple card base with no added layers of paper. These techniques transfer well to scrapbooking! You'll take home 8 cards, two each of four designs.

Asia Inspired VII ($18) Saturday, April 2, 9am-noon. If you appreciate serenity and art that's inspired by the natural world, you'll love the projects you'll make in this 3-hour class. Some will feature Stampin' Up! products, while others will incorporate materials collected in China or Japan for a truly unique and beautiful result. Five projects total.

"SAB for Free" (No charge!) Sunday, April 17, 3-5pm or Thursday, April 21, 7-9pm. Did you place a qualifying order ($50) during Sale-a-bration? (January 25-March 31) If so, you received a certificate in your order bag entitling you to attend this class as a gesture of appreciation from me! I'll provide all the materials for 3-4 cards and you can bet there will be some new tips and tricks in the mix. Just let me know which session you'd like to attend.

Say it with Flowers ($15) Saturday, April 30, 1:30-3:30pm. Whether you're looking for a fun mother-daughter activity, need a Mother's Day gift, or just want to make some lovely floral-themed cards for the ladies on your list, this class is designed for you. Six cards (two each of three designs) and two identical 3D projects.

Retirement Stamp-a-Stack (still just $1 per card!) Saturday, June 18, 10am-2pm. Every year at this time, it's "goodbye" to many favorites from the current catalog. We'll use several of these stamps and accessories to provide a selection of cards (including Father's Day) for you to recreate, in about 10 minutes each. Make as many or as few of each design as you wish. Materials cut and prepped for you - what a luxury!

If you'd like to participate or have questions, don't hesitate to contact me.

-Kathy (catalina_los_ojos@hotmail.com)

Monday, February 21, 2011

Olathe Stamp Club - February 2011


If you thought to yourself that this card looked slightly familiar, you were right! Take a look at page 25 in the Occasions Mini Catalog, and you'll find my inspiration (SU! catalogs are a marvellous place to get ideas for projects!). Our hostess was interested in doing more with dry embossing using the Big Shot, so we used an embossing plate AND a couple of sizzlets that emboss and cut in a single pass through the Big Shot.

Note how the Newsprint DSP is stamped for some added color, drawing attention to the simple white "hi" embossed oval. And that striped grosgrain ribbon - you gotta love a product that does the work of ten all on its own!

Thinking green and growing, Kathy

Wednesday, February 16, 2011

Lawrence Stamp Club - February 2011


We needed a little bit of spring last week, so the easel card I designed for the Lawrence ladies this month features birds and bees and warm colors! We used a technique called stampin' mist resist on the saffron background, and the colors were drawn from several designs in the wonderful Botanical Gazette DSP, with matching images from the Nature Walk stamp set. A single big designer button provides the "stop" that forms the easel effect.

Inside and out of sight at first glance, bees flit through the hand-written message.

Must have been right on schedule... it's supposed to reach 60 degrees this week! -Kathy

Monday, February 14, 2011

Gifts of Love


I've been thinking a great deal of late about gifts of love - in fact, I'm "on safari" to find and record as many as I can. I've taken a dare to look for meaning in the moments of my life by counting to 1,000 on a list of things I love, simply by taking the time to see. These things I love are in fact gifts placed there for me by the One who loves me best, love made visible, and I have missed so many of them by walking through too many days on auto-pilot.

The way that geese never leave an injured friend alone.
The sweet-salty-crunchy-tang of Nutella on Ritz with fresh strawberry slices.
The titian color that blazes out of my youngest daughter's hair when the sun strikes it.
The way that music unifies my parts into momentary grace.
Words like
frisible that sommersault off the tongue and make me laugh.
Friends who make the time to make a little something pretty
just for me.

It turns your world around, this gratitude first approach to the moments. And it somehow anchors them in memory, keeps life from sliding through your fingers like so many grains of the sands of time. If this idea intrigues you, may I recommend to you the book

1,000 Gifts: A Dare to Live Fully Right Where You Are by Ann Voscamp.

You could sample her writing style at www.aholyexperience.com.

Happy Valentine's Day.
You are loved. Look! -Kathy